What is a punch biopsy?
An oral cavity punch biopsy is considered the primary technique to obtain diagnostic, full thickness skin specimens. It is performed using a circular blade or trephine attached to a pencil-like handle. The instrument is rotated down through the epidermis and dermis, and into the subcutaneous fat. The punch biopsy yields a cylindrical core of tissue that must be gently handled (usually with a needle) to prevent crushing the artifact at the pathologic evaluation.
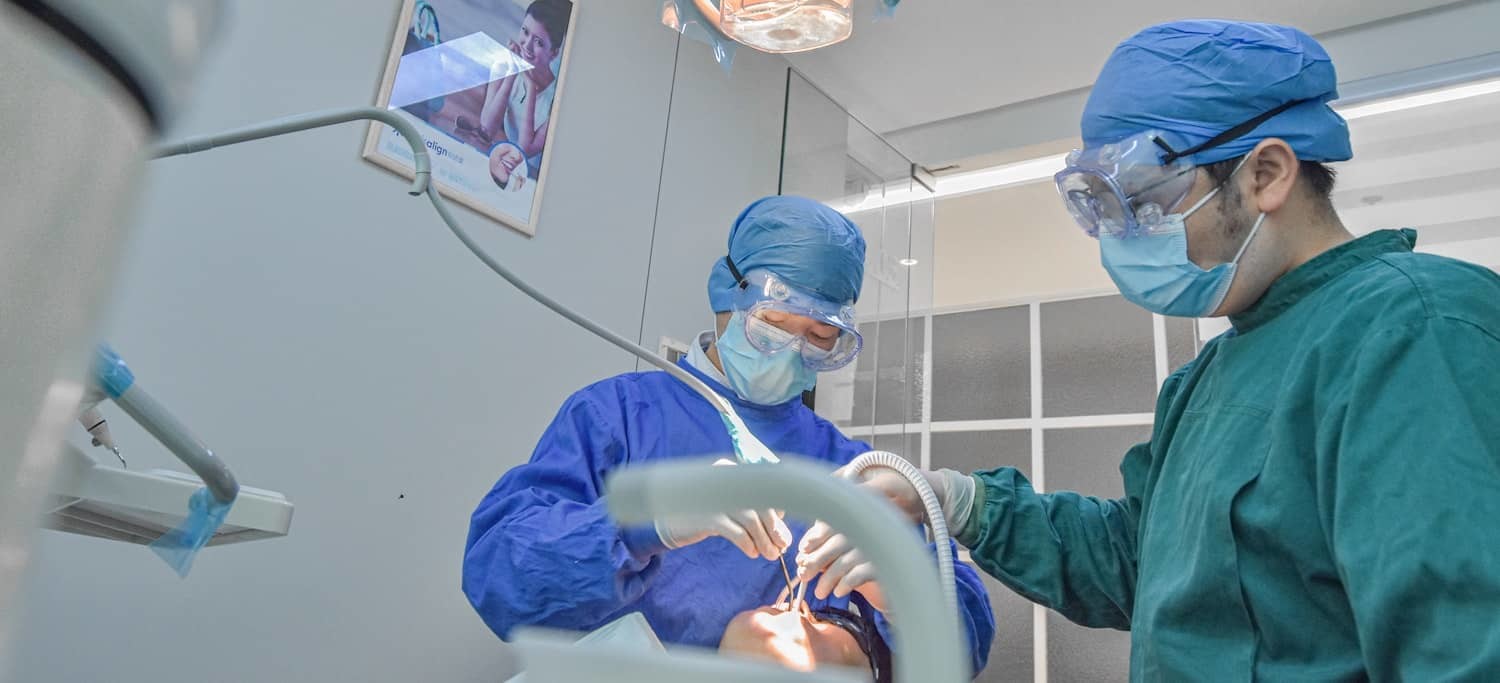
Like what you’re learning? Download a brochure for our online, postgraduate Orofacial Pain and Oral Medicine degree program.

Advantages of a Punch Biopsy
Compared to a scalpel oral biopsy, oral punch biopsies are rapid, simple, and easy to master. Punch biopsies afford dentists the opportunity to obtain several, full-thickness samples at the same time and at different points. Additionally, by secondary intention, punch biopsy wounds heal with good esthetic results.
Punch biopsies of inflammatory dermatoses can provide useful information when the differential diagnosis has been narrowed. Cutaneous neoplasms can be evaluated by punch biopsy, and the discovery of malignancy may alter the planned surgical excision.
Related Reading: The Dentist’s Guide to Oral Pathology of Vesicular Ulcerative Conditions
Don’t have time to read The Dentist’s Guide to Oral Pathology of Vesicular Ulcerative Conditions? Download the checklist!
Counterindications of a Punch Biopsy
Here are some reasons why a punch biopsy might not be the best choice:
- They cannot be performed on deep lesions and cannot remove large lesions.
- They are not useful for pedunculated lesions.
- They cannot be used in intensely vascularized or innervated areas.
- They cannot be performed on patients on anticoagulants or with severe thrombocytopenia.
- They are difficult to use in regions that lack firm tissue support or fixation.
- Deep punches tend to produce a round and slightly depressed scar.
- The wound heals by secondary intention, and discomfort may persist longer than anticipated by the clinician and the patient.
What kinds of punch biopsy equipment are available?
Punch biopsy tools come in a variety of sizes and are typically made of plastic or metal. Metal biopsy punches can be autoclaved and are reusable, whereas plastic biopsy punches are disposable, lighter, and more easily manipulated than their metal counterparts. Biopsy punches usually come in 2 to 8 mm sizes. Most intraoral punch biopsies can be performed with a 3, 4, or 5 mm size.
Oral Cavity Punch Biopsy Procedure
1. Apply Anesthesia
Apply topical and local anesthesia to the biopsy site.
2. Make an Incision
Location
Biopsy site selection will follow the same principle as incisional biopsy: biopsy the most abnormal appearing site within a lesion or the edge of the lesion to obtain both normal tissue and lesional tissue. When performing on gingiva, avoid the gingival margins.
Direction
The biopsy punch should be incised perpendicular to the lesion. For soft tissue biopsies (e.g. buccal mucosa, labial mucosa), evert the tissue with your non-dominant hand and apply pressure from the skin surface using the thumb to create tension to the surface.
Incision
Hold the biopsy punch with your thumb and index finger on the dominant hand and rotate the instrument back and forth under gentle pressure. If access is a problem (e.g. lingual gingiva, maxillary tuberosity region), either the handle can be cut at the desired level or a 3 mm specific punch mounted on a surgical motor with a contra-angle can be used by letting it rotate at 20-rpm under gentle pressure.
Depth
The standard depth for an oral mucosa punch biopsy would be 4-5 mm.
3. Remove the Specimen
Once the instrument has penetrated into the subcutaneous fat, reaches the bone, or reaches the desirable depth, it is removed. The specimen does not come out together with the instrument. Gently lift the cylindrical mucosal specimen with a 21G needle, the anesthesia needle, or tissue forceps, and cut the specimen free with a tiny pair of iris scissors or a number 12 scalpel blade. If the specimen is within the fat tissue, you may be able to remove the specimen without cutting the base. You may use atraumatic forceps to lift the specimen, but applying too much pressure will crush the specimen.
Note: For gingival mucosa biopsies, a periosteotome may be used to remove the specimen.
4. Transfer the Specimen
Place the specimen onto paper with the base on the bottom to avoid curling or twisting, and transfer it to the fixing solution.
5. Close the Biopsy Site
The small punch biopsy wounds created by a 2- or 3 mm instrument often do not require suture closure; hemostasis can be achieved by applying pressure using gauze. Place a small piece of Gelfoam or Surgicel (hemostatic agents) over the biopsy site to achieve hemostasis prior to dismissing the patient.
6. Provide Post-operative Punch Biopsy Care Instructions
Swelling and bruising might happen during the punch biopsy healing process, and bleeding might occur especially during the first day. Advise the patient to apply direct pressure for 10 minutes using gauze or a tissue to stop the bleeding. If the wound continues to bleed, advise the patient to contact the dental clinic.
Although pain is generally really limited, the patient can take a 200-mg tablet of Ibuprofen (Advil, Motrin) 3 times a day with food, or a 325-mg tablet of Acetaminophen (Tylenol) every 6 hours, or as needed.
Because there is a risk of infection, patients should maintain excellent oral hygiene. The patient should perform a daily rinse with water, but not Listerine as it can irritate the wound. Avoid eating and brushing on the side of biopsy on the day of procedure which can cause tissue damage and bleeding. Also, the patient should not touch the area with their fingers. If the patient develops increased pain, redness, pus or swelling at the biopsy site, instruct the patient to contact the clinic.
Lastly, before the patient leaves, don’t forget to schedule your follow-up appointment!
Additional Articles from USC on Vesicular Ulcerative Conditions
- What is the difference between a vesicle and an oral ulcer?
- Understanding Oral Herpes: Primary Herpetic Gingivostomatitis
- Oral Pathology of Secondary (Recurrent) Herpetic Eruptions
- Oral Pathology of Primary, Secondary, and Tertiary Syphilis
- Mucous Membrane Pemphigoid Pictures, Diagnosis, and Treatment
- Pemphigus Vulgaris: Diagnosis, Treatment, and Prognosis
- Oral Pathology of Oropharyngeal Squamous Cell Carcinoma
- Oral Pathology of Oral Pharyngeal Squamous Cell Carcinoma & HPV
- Squamous Cell Carcinoma Pictures of the Oral Cavity
- Infectious Lesions of the Oral Cavity: Histoplasmosis & Mucormycosis
- Aphthous Stomatitis: Treatment, Diagnosis, and Clinical Pictures
- Oral Pathology of Aphthous Stomatitis and Crohn’s Disease
- What is Erythema Multiforme and the EM-TEN Spectrum?
Earn an Online Postgraduate Degree in Orofacial Pain and Oral Medicine
Like what you’re learning? Consider enrolling in the Herman Ostrow School of Dentistry of USC’s online, competency-based certificate or master’s program in Orofacial Pain and Oral Medicine.